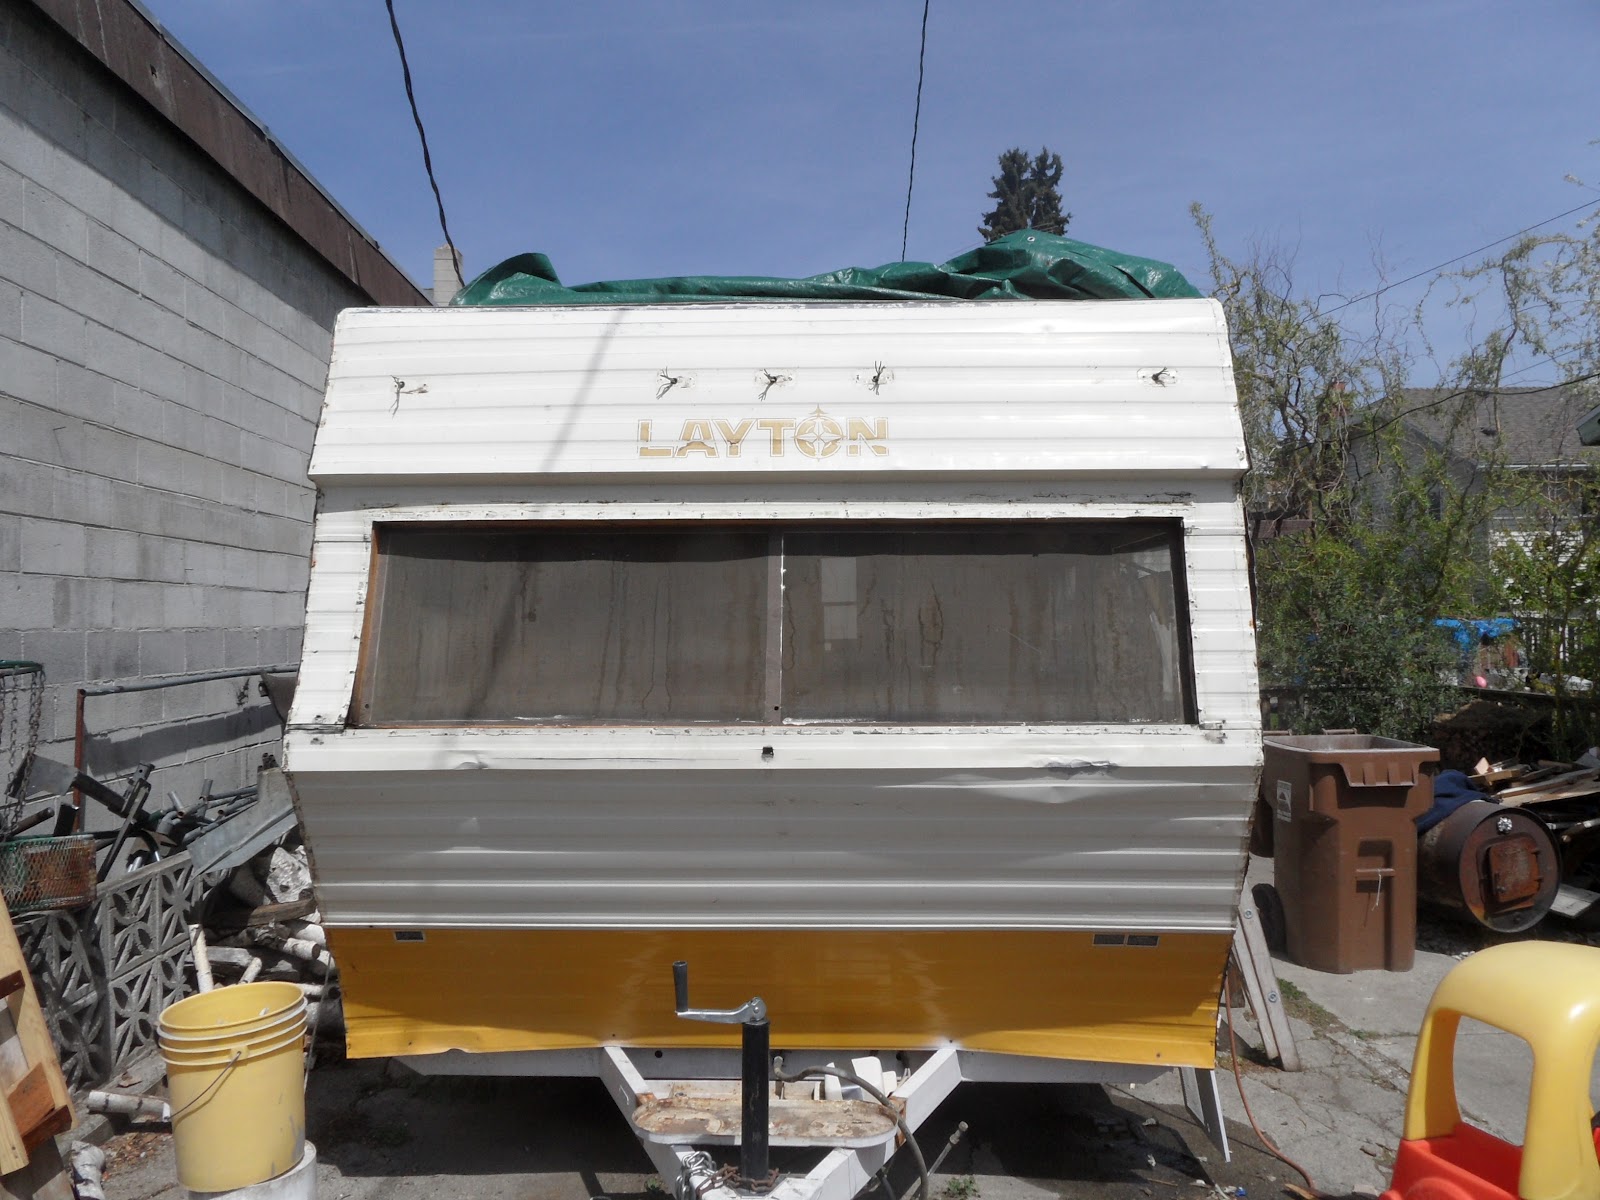
Demolition Day! The first of three actually, but we did not realize that at the time. Lets begin with why we chose to renovate our trailer....Last summer while heading to Yellowstone hubby noticed that the side "poofed" out while driving down the freeway. Throughout the two day drive down it "poofed" out further and further. We knew the corner trim was detached, but we didn't realize the metal siding would detach too.
We pulled out our fancy flame duct tape and taped that corner right up, but that was only a band-aid. Before this summer's adventures (which we have many planned) we decided to tear the front open, analyze the damage, and go from there, originally thinking this would just be a front end job like last summer's back end job. WRONG!!
We started with the removal of the propane tanks, battery, exterior lighting, front windows and screens, front side windows (in this case, one window and one airconditioner), two front corner trims and misc. other exterior access panels near the front end.
Once we started removing the exterior siding and pink insulation, the damage was becoming more and more evident. BOTH front corners were separated from the exterior metal corner moulding for obviously a very long time because those corners basically crumbled in our fingers with dry rot.
At the end of a twelve hour day and only 44 pictures to record our progress and "how to put it back together"...this was what we had:
Front wall removed, pink insulation tossed, top bunk fold-down door removed (we left the shelf because it stabilized the whole trailer during this process), back gaucho removed. Oh, and a corner of the floor vinyl cut away to see how rotted the floor was.
Man Hours: hubby-12, me-9 = 21 hours
Money Spent: $0


No comments:
Post a Comment