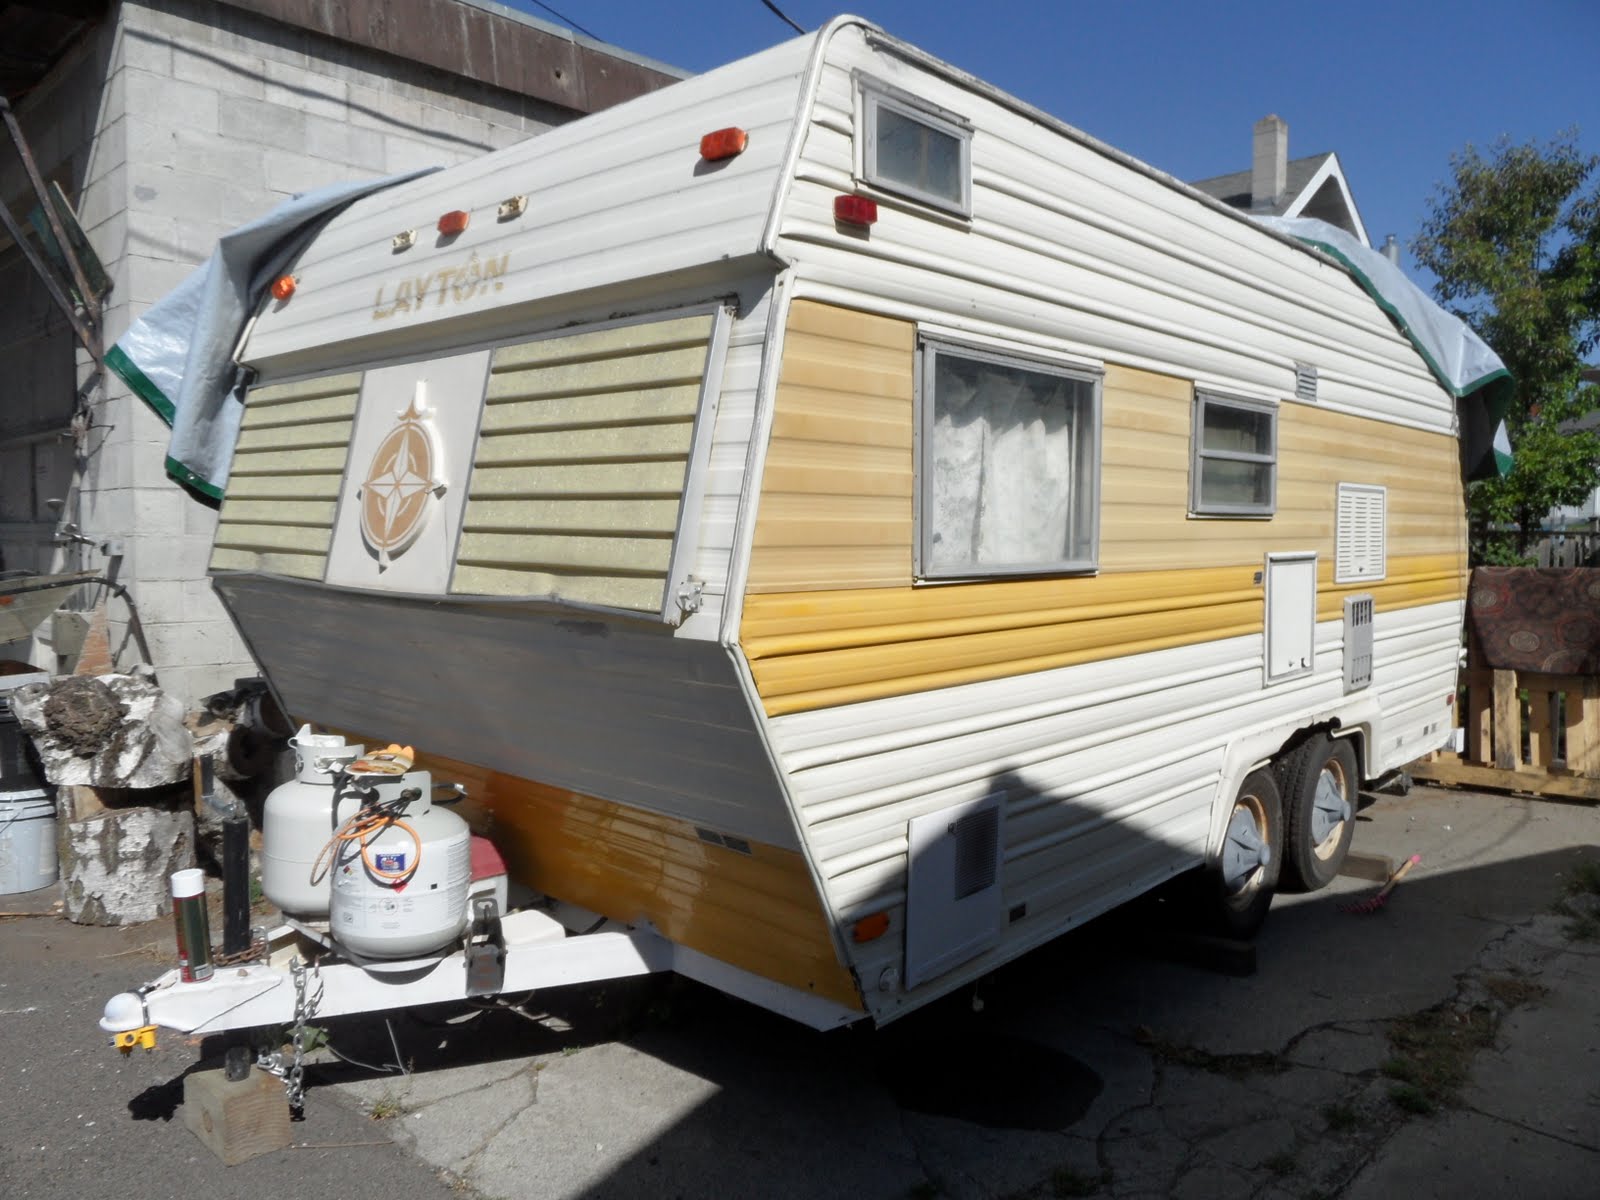
In part 1 we left off with this rotton mess...

After tearing out all the 2x2's and panelling, we layed out the 2x2's on the driveway for a visual layout for when we're ready to build the wall again. IMPORTANT STEP: PRIOR TO REMOVAL OF 2x2'S, MEASURE VERTICAL DISTANCE BETWEEN HORIZONTAL MEMBERS AND WRITE IT DOWN ON PAPER. IN FACT, DRAW THE WHOLE WALL FRAME ON PAPER WITH EVERY MEASUREMENT. That's a huge step to remember to do, once you build the new frame, it all must be EXACT. You cannot build the framing a 1/4" longer or shorter, it screws up A LOT of other steps down the road...as you will soon see and learn from our mistakes (if not in this post, then in following ones)...

Once the whole back end is opened up, even more rot was exposed here (bottom left corner, that yellow is the original laminate flooring)...

...and here (bottom right corner).

I really, REALLY wanted to save the yellow laminate, but it was rotten too, I guess. Once we removed it, hubby just dug right in.

It literally just crumbled apart, so we pulled out the shop vac, it made for quicker removal.

See how much of that corner was rotten and is left?? Basically NOTHING!! The only thing holding it all together was the aluminum under-siding. And to think, I kept stepping on it to show people how soft the floor was. I'm lucky I didn't fall through!!

After clean up, hubby pulled out the circular saw and cut away to good stuff. Now it was time to rebuild. We purchased a dozen 2x2's, one 2x4, one sheet of 1/2" plywood, 2" thick rigid foam insulation, wood screws (all of which will be added to the sidebar showing our spending as 'Back End Remodel') and we had visqueen to use as a vapor barrier already. For some reason, I guess that single 2x2 on the end there was not rotton 'cuz it loos like hubby added new floor supports and attached them to it. There's also one piece of rigid insulation there on the left. Then next step was to measure and cut a new piece of plywood flooring, as shown in pic below.

Okay, so a little back story now...the reason we tore at the entire backend of the trailer in the first place was because we needed to install a new black water tank. Okay, you're thinking how does black water tank equal and back end tear out?? Well, hubby did not want to install the toilet back onto a 'soft' floor. We started by removing all the bathroom parts and pieces. Did you know that many parts and pieces of a travel trailer are installed BEFORE the front, back or even side walls are put in?? Yup, we learned this tidbit the hard way. We could not remove the bathroom vanity until we removed the shower liner, which both are in excellent shape so we wanted to keep them. Well, the bathroom liner was installed before the back end was sealed up because there is NO POSSIBLE way to get that liner in that tiny little door to the bathroom. So...that was our extended thinking of how black water tank replacement ended up being an entire back end remodel. Here's our new black water tank installed, which is a whole other blog post in itself...maybe later...on to remodel.

New plywood floor, shower liner back in, toilet back in,recycled peel-n-stick laminate flooring on new floor...now where is the vanity??

Ah, there, and I even didn't rotate the pic...

The next step after installing the majority of the bathroom components back is to start with the back end wall framing...but that will be in the next remodel post.
For now, a disclaimer and an explanation of a few choices we made. Keep in mind during this entire series of Back End Remodel posts that we had only three days to fix up the most important areas (to us) prior to travelling for 8 days in it. We wanted a functioning toilet (mostly because of a 4-1/2 yr old who needs to potty in middle of night. Can you imagine tent camping for 8 days with a 2-1/2 and 4-1/2 year old?? I couldn't, that's why we bought a trailer.) We worked 12 hours all three days hubby was available (he did have to work in between the first two and the third day) and I even put in several hours while he was at work on those in between days. Our long term goal is to take off the roof and remodel the other three walls, which is why we did not touch the left wall of the bathroom, which we know is rotted too. These posts are for your viewing pleasure and to share with you our process. Not all trailers are created equal, however many are as simply built as ours.
Happy Travels!




 With a 1PM departure and 6 hours (according to mapquest) of driving ahead of us, it was going to be a long day! We finally pulled into our campsite (above) around 9:30PM, just in time to make the beds and go to sleep. As we prepared for bed, we learned that we had absolutely NO POWER! My guess: the battery is dead. Hubby's guess: the 2yr old battery is not being charged by the truck. Either way, we had no power for bed time, just the propane. No power means no light and no water pump. That's okay, we packed bottled water and had full propane tanks.
 The next morning we toured the Lewis & Clark Caverns. SO COOL!! Well worth a visit. In that pic above that tiny white column in the middle of the pic, that almost looks baseball bat-ish, is over 6 feet tall! There is no depth perception in a cave, when I took the pic, it looked as if it were a few steps away. Weird! We finally got on the road after lunch again, but this time we were only two hours north of West Yellowstone. Well...with a stop in Ennis, Montana to figure out the battery problem, we didn't arrive to our next campsite until 6pm. Whew! Another long day!
 There's the culprit of this "woe" story. Did you know that most trucks are installed with a fuse for it's towing cable plug-in that it will blow if you're RV battery is wired BACKWARDS?!?!? Yes, I said that right...our RV battery, whoever installed it last (which for clarity sakes, WAS NOT us) wired it BACKWARDS! Now, if you're anything like me and not electrically savy...that's as far as the explanation will go. Here's a lengthier explanation as quoted from hubby, "the white wire and the black wire were wired so that the white wire was wired to the hot side when it should be the common." And if you need
  1970 16'
 1972 19'
  1974 21'
 1975 23'
 1976 19' (My handsome fellow!)
 1977 probably 16'
 1977 22'
 1978 maybe 19'?
 1978 16'


 We have the whole back end framed and insulated. We used a rigid insulation the same thickness as the wood that has a foil looking stuff on one side (perhaps vapor barrier?). Today I need to fix a few odd spots then I can add one large vapor barrier, which will be a large piece of visqueen that we already have on hand. We do intend to complete this properly someday, but with are upcoming Yellowstone deadline, it will be done with a few non-life threatening shortcuts like this visqueen for example. The reason being that with the original construction, the pink insulation was in between all the wood and aluminum. Having used rigid insulation, that left the wood next to the aluminum.